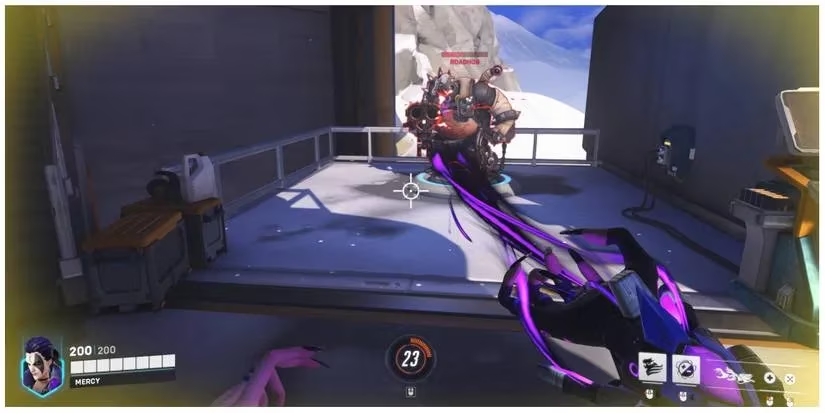
As the Overwatch 2 roster continues to expand and evolve in 2026, one hero has consistently maintained a dominant position within the support meta: Moira. With her unique blend of potent area-of-effect healing, formidable damage output, and an unparalleled escape tool, a skilled Moira player can single-handedly dictate the pace of a match. Her design philosophy revolves around adaptability, allowing her to seamlessly transition between keeping her allies alive and aggressively pressuring the enemy backline. While she might not have received major reworks in recent seasons, understanding her intricate mechanics and mastering her high-skill ceiling techniques remains the key to unlocking her true potential and climbing the competitive ladder. This guide will break down the essential strategies, advanced techniques, and current meta applications for dominating with Moira in the modern Overwatch 2 landscape. 😎
The Foundation: Training and Resource Management
The journey to Moira mastery begins not in ranked, but in the Practice Range. This might seem basic, but in 2026, with more heroes than ever, understanding precise interactions is crucial. The training area allows you to spawn any hero as a bot, letting you gauge exactly how your Biotic Grasp depletes enemy health bars and how your orbs interact with different hitboxes. Pay close attention to the resource meter for your primary heal. A common pitfall for new Moira players is exhausting their biotic energy during a critical team fight. Remember: dealing damage with your secondary fire replenishes this resource. The core gameplay loop is a constant dance between siphoning enemy vitality and channeling that energy into healing your team. Finding this balance is the first step to proficiency.
Fade: The Ultimate Survival Tool
Moira's Fade ability is arguably the best non-ultimate mobility and survival tool in the support category. Activating it grants instant invulnerability and a massive speed boost, making her elusive and slippery. However, with a cooldown of six seconds, its usage must be deliberate. Never use it frivolously to close a small gap; save it to evade catastrophic ultimate abilities like D.Va's Self-Destruct or Junker Queen's Rampage, or to break free from deadly crowd control effects.
The true artistry with Fade lies in the Fade Jump technique. By jumping at the peak of the Fade's momentum, you can reach elevated positions otherwise inaccessible. This isn't just for escape; it's for repositioning. Use it to gain a height advantage to safely heal your team from above, or to launch a Biotic Orb from an unexpected angle. Mastering Fade Jump routes on every map is what separates a good Moira from a great one.
Orb Mastery: Geometry is Your Weapon
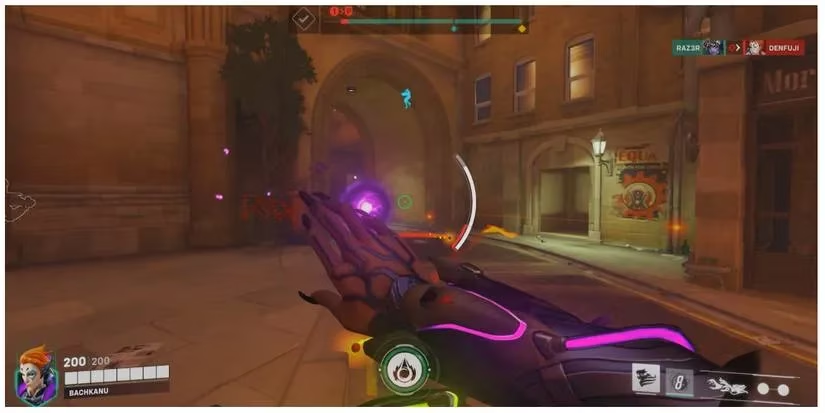
Moira's Biotic Orb is a skill-defining ability. You have two choices: a golden Healing Orb or a purple Damage Orb. Their behavior is identical—they bounce off surfaces for up to 7 seconds—but their application differs wildly.
-
Healing Orb (
E): This is your primary tool for group sustain. Toss it into a cluster of injured allies during a brawl. It's particularly effective for healing aerial allies like Pharah or Echo, though it's more efficient if they dip into its path. A pro tip is to bounce it off walls in enclosed spaces (like the point on Lijiang Tower: Control Center) to maximize its healing duration on your team. -
Damage Orb (
Shift): This orb is for area denial, finishing low-health targets, and building ultimate charge. Don't just throw it randomly down a lane. Bank it around corners into rooms where enemies are likely hiding or low on health. It deals 50 damage per second, scaling up to 200 total, making it perfect for forcing snipers off high ground or finishing a fleeing support.
The Damage/Healing Balance: A Hybrid Threat
A critical misconception is that Moira is a pure healer. She is a hybrid support. Her secondary fire, Biotic Grasp, is a lifedrain beam that deals 50 damage per second while healing herself for 24 health per second. This constant self-sustain makes her incredibly durable in 1v1 situations against other supports or low-health DPS.
Your damage is essential for:
-
Replenishing your healing resource.
-
Building your powerful ultimate, Coalescence, quickly.
-
Securing eliminations on low-health, evasive targets that your DPS might miss.
However, the golden rule is: Healing takes priority. Your damage should be opportunistic—applied to enemies your tank is engaging, or to punish out-of-position foes. Never tunnel-vision on dealing damage while your team dies around you.
Positioning and Game Sense: The Invisible Skills
Moira's short effective range (15 meters for grasp, 5 meters for heal spray) demands intelligent positioning. You should generally be in the midline, behind your tanks but within range to heal your diving DPS. Use natural cover and choke points to your advantage. Your orbs thrive in tight, enclosed spaces where they can bounce repeatedly.
Your game sense must answer one question constantly: Should I be healing or damaging right now? If your team is under heavy assault, focus on healing and orb usage. If your team has the advantage and is full health, switch to an aggressive posture, using damage orbs and your grasp to pressure the enemy and farm ultimate charge. A Moira who can read the flow of battle and adapt her role on the fly is a terrifying asset.
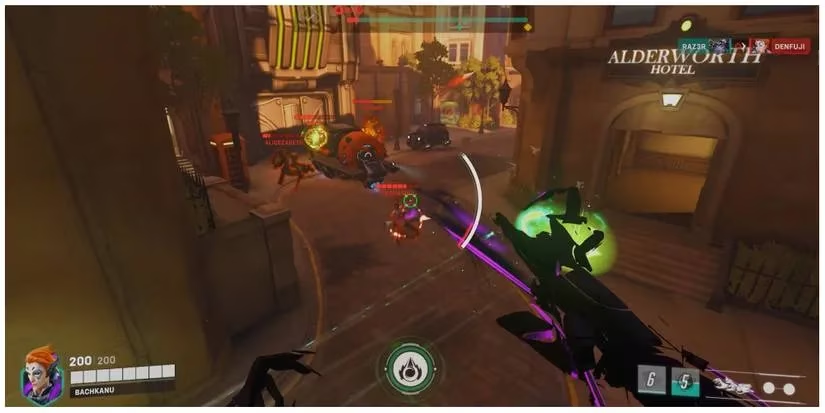
Coalescence: The Game-Changing Ultimate
Coalescence is one of the most versatile ultimates in the game. It's a long-range beam that simultaneously heals allies and damages enemies it passes through. It also grants Moira a slight speed boost.
When to use it:
-
To save your team: When multiple allies are critical during a big enemy push, Coalescence can provide a massive burst of healing that turns the tide.
-
To enable a push: Combine it with your tank's engage (like Reinhardt's Charge or Winston's Primal Rage) to heal them through focus fire while damaging the enemies they're pressuring.
-
To secure key kills: Use it to finish off low-health enemies hiding behind barriers or at long range.
Crucial Tips:
-
You are NOT invulnerable during Coalescence! You can still be hooked, sniped, or stunned. Activate it from behind cover or at an off-angle.
-
It penetrates barriers like Reinhardt's shield, making it excellent for breaking bunker compositions.
-
The healing is substantial. Don't be afraid to use it defensively to keep your tank alive during a pivotal fight.
Advanced Tactics and 2026 Meta Synergies
In the current 2026 meta, which often features high-mobility dive compositions or sustain-heavy brawls, Moira excels. Her ability to heal multiple targets quickly makes her a strong pairing with heroes like Junker Queen or Ramattra.
-
Fade Engagement/Disengagement: Use Fade not just to escape, but sometimes to make an aggressive play to finish a key target, then Fade-jump back to safety.
-
Orb Bounce Predictions: Learn common map geometries. On maps like Dorado first point defense, you can bounce a damage orb off the archway to harass enemies on the high ground without exposing yourself.
-
Ultimate Combos: While Coalescence is strong alone, it combos devastatingly with other area-control ultimates. Pair it with Zarya's Graviton Surge or Orisa's Terra Surge to melt a trapped enemy team. Coordinate with your tank for maximum impact.
-
The 1HP Fade: With impeccable timing, you can survive seemingly fatal damage by Fading at the last possible moment. This requires intense awareness of enemy cooldowns and burst damage potential.
.jpg?q=50&fit=crop&w=825&dpr=1.5)
Final Checklist for Success ✅
| Do's ✅ | Don'ts ❌ |
|---|---|
| Balance damage and healing output. | Tunnel vision on dealing damage ("DPS Moira"). |
| Use Fade reactively to avoid key abilities. | Use Fade for simple repositioning; walk instead. |
| Bounce orbs off walls for maximum value. | Throw orbs randomly into open space. |
| Use Coalescence to save fights or enable pushes. | Hold Coalescence all game waiting for a "perfect" moment. |
| Position in the midline, near cover. | Stand in the frontline or too far in the backline. |
| Damage to recharge your healing resource. | Let your healing resource meter hit zero. |
Mastering Moira is about mastering tempo. She is the conductor of the fight's rhythm. By judiciously managing her cooldowns, expertly placing her orbs, and knowing precisely when to shift from healer to harasser, you can become the linchpin of your team's success. In the fast-paced, ever-changing world of Overwatch 2 in 2026, her adaptable kit ensures she will always have a place in the hands of a skilled player. Now, get out there and show them the power of biotic science! 🔬💜